Side Project Chronicles, ep. 3: Lightsail Bucket Storage

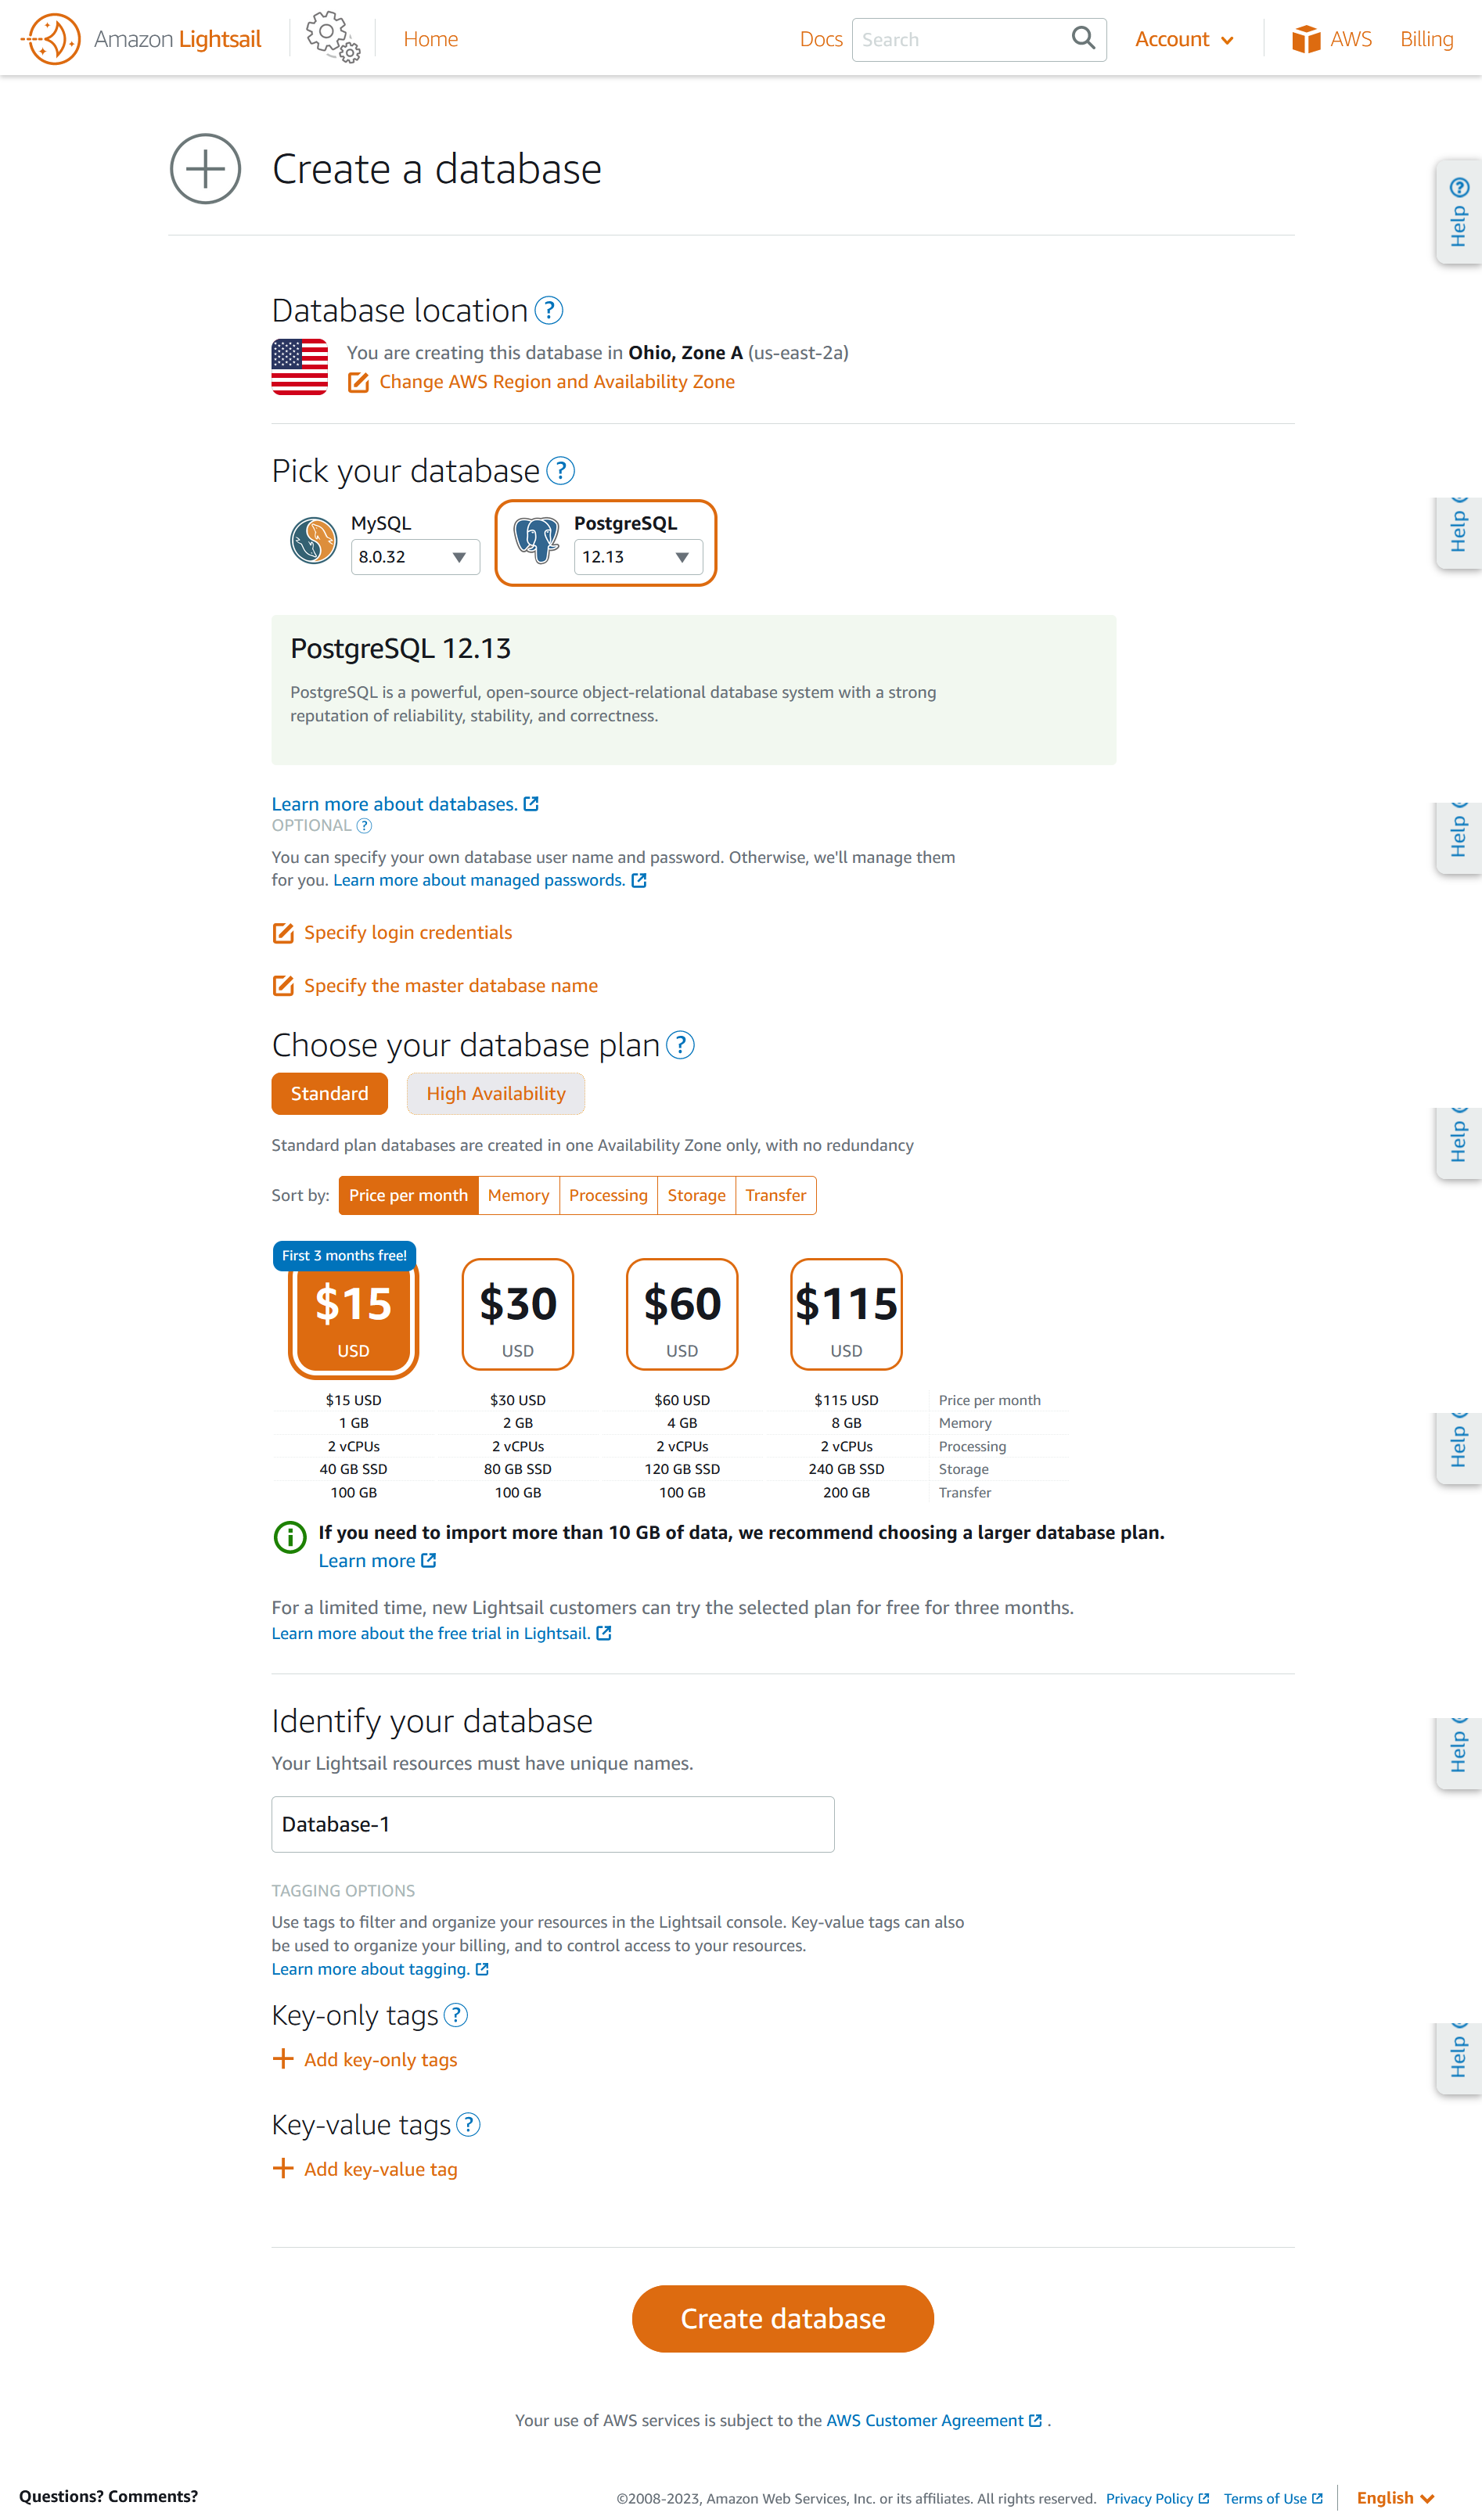
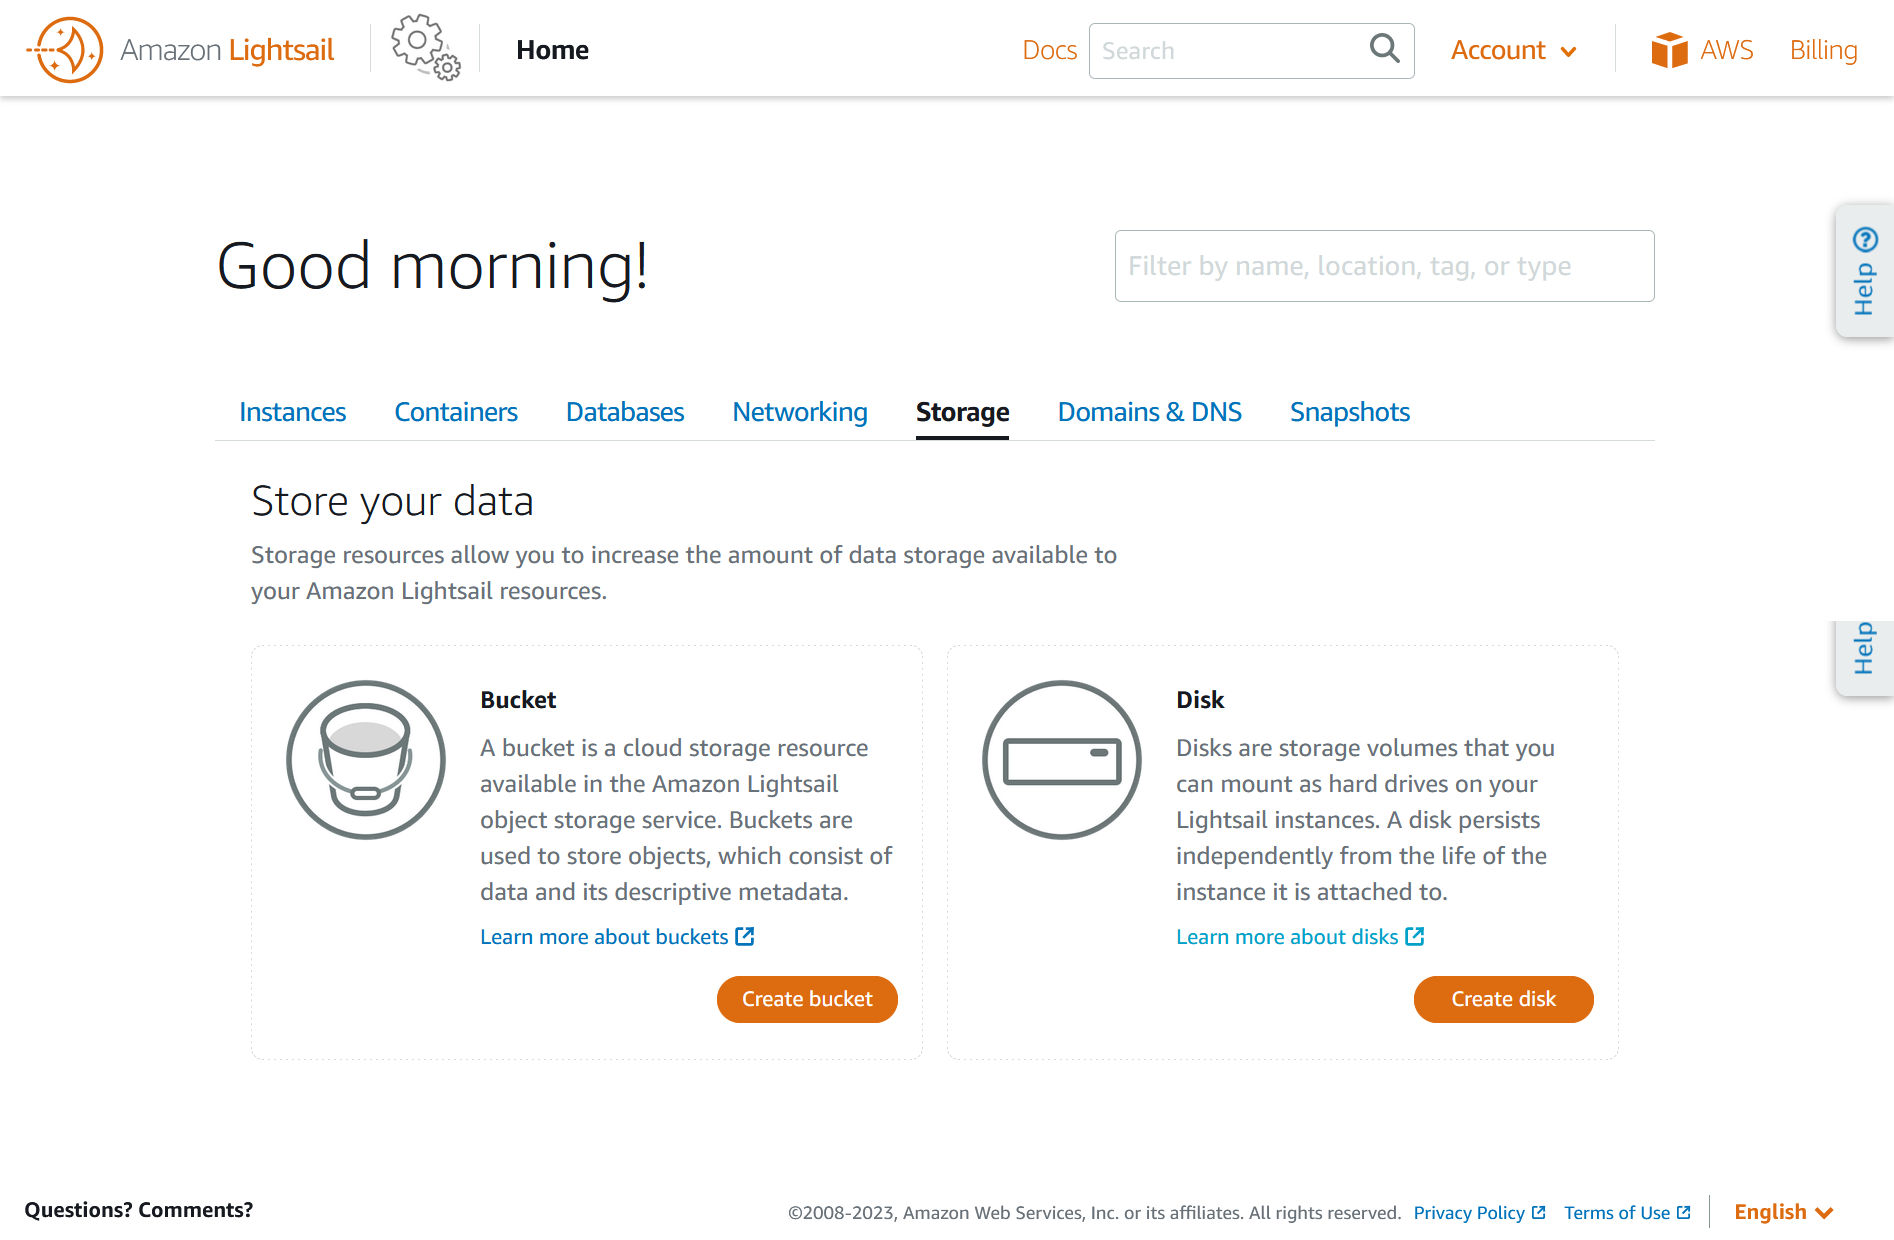
In ep. 2 we briefly looked at the Lightsail control panel and saw that we can create Bucket Storage. In this post, we’ll look deeper into Lightsail Bucket Storage.

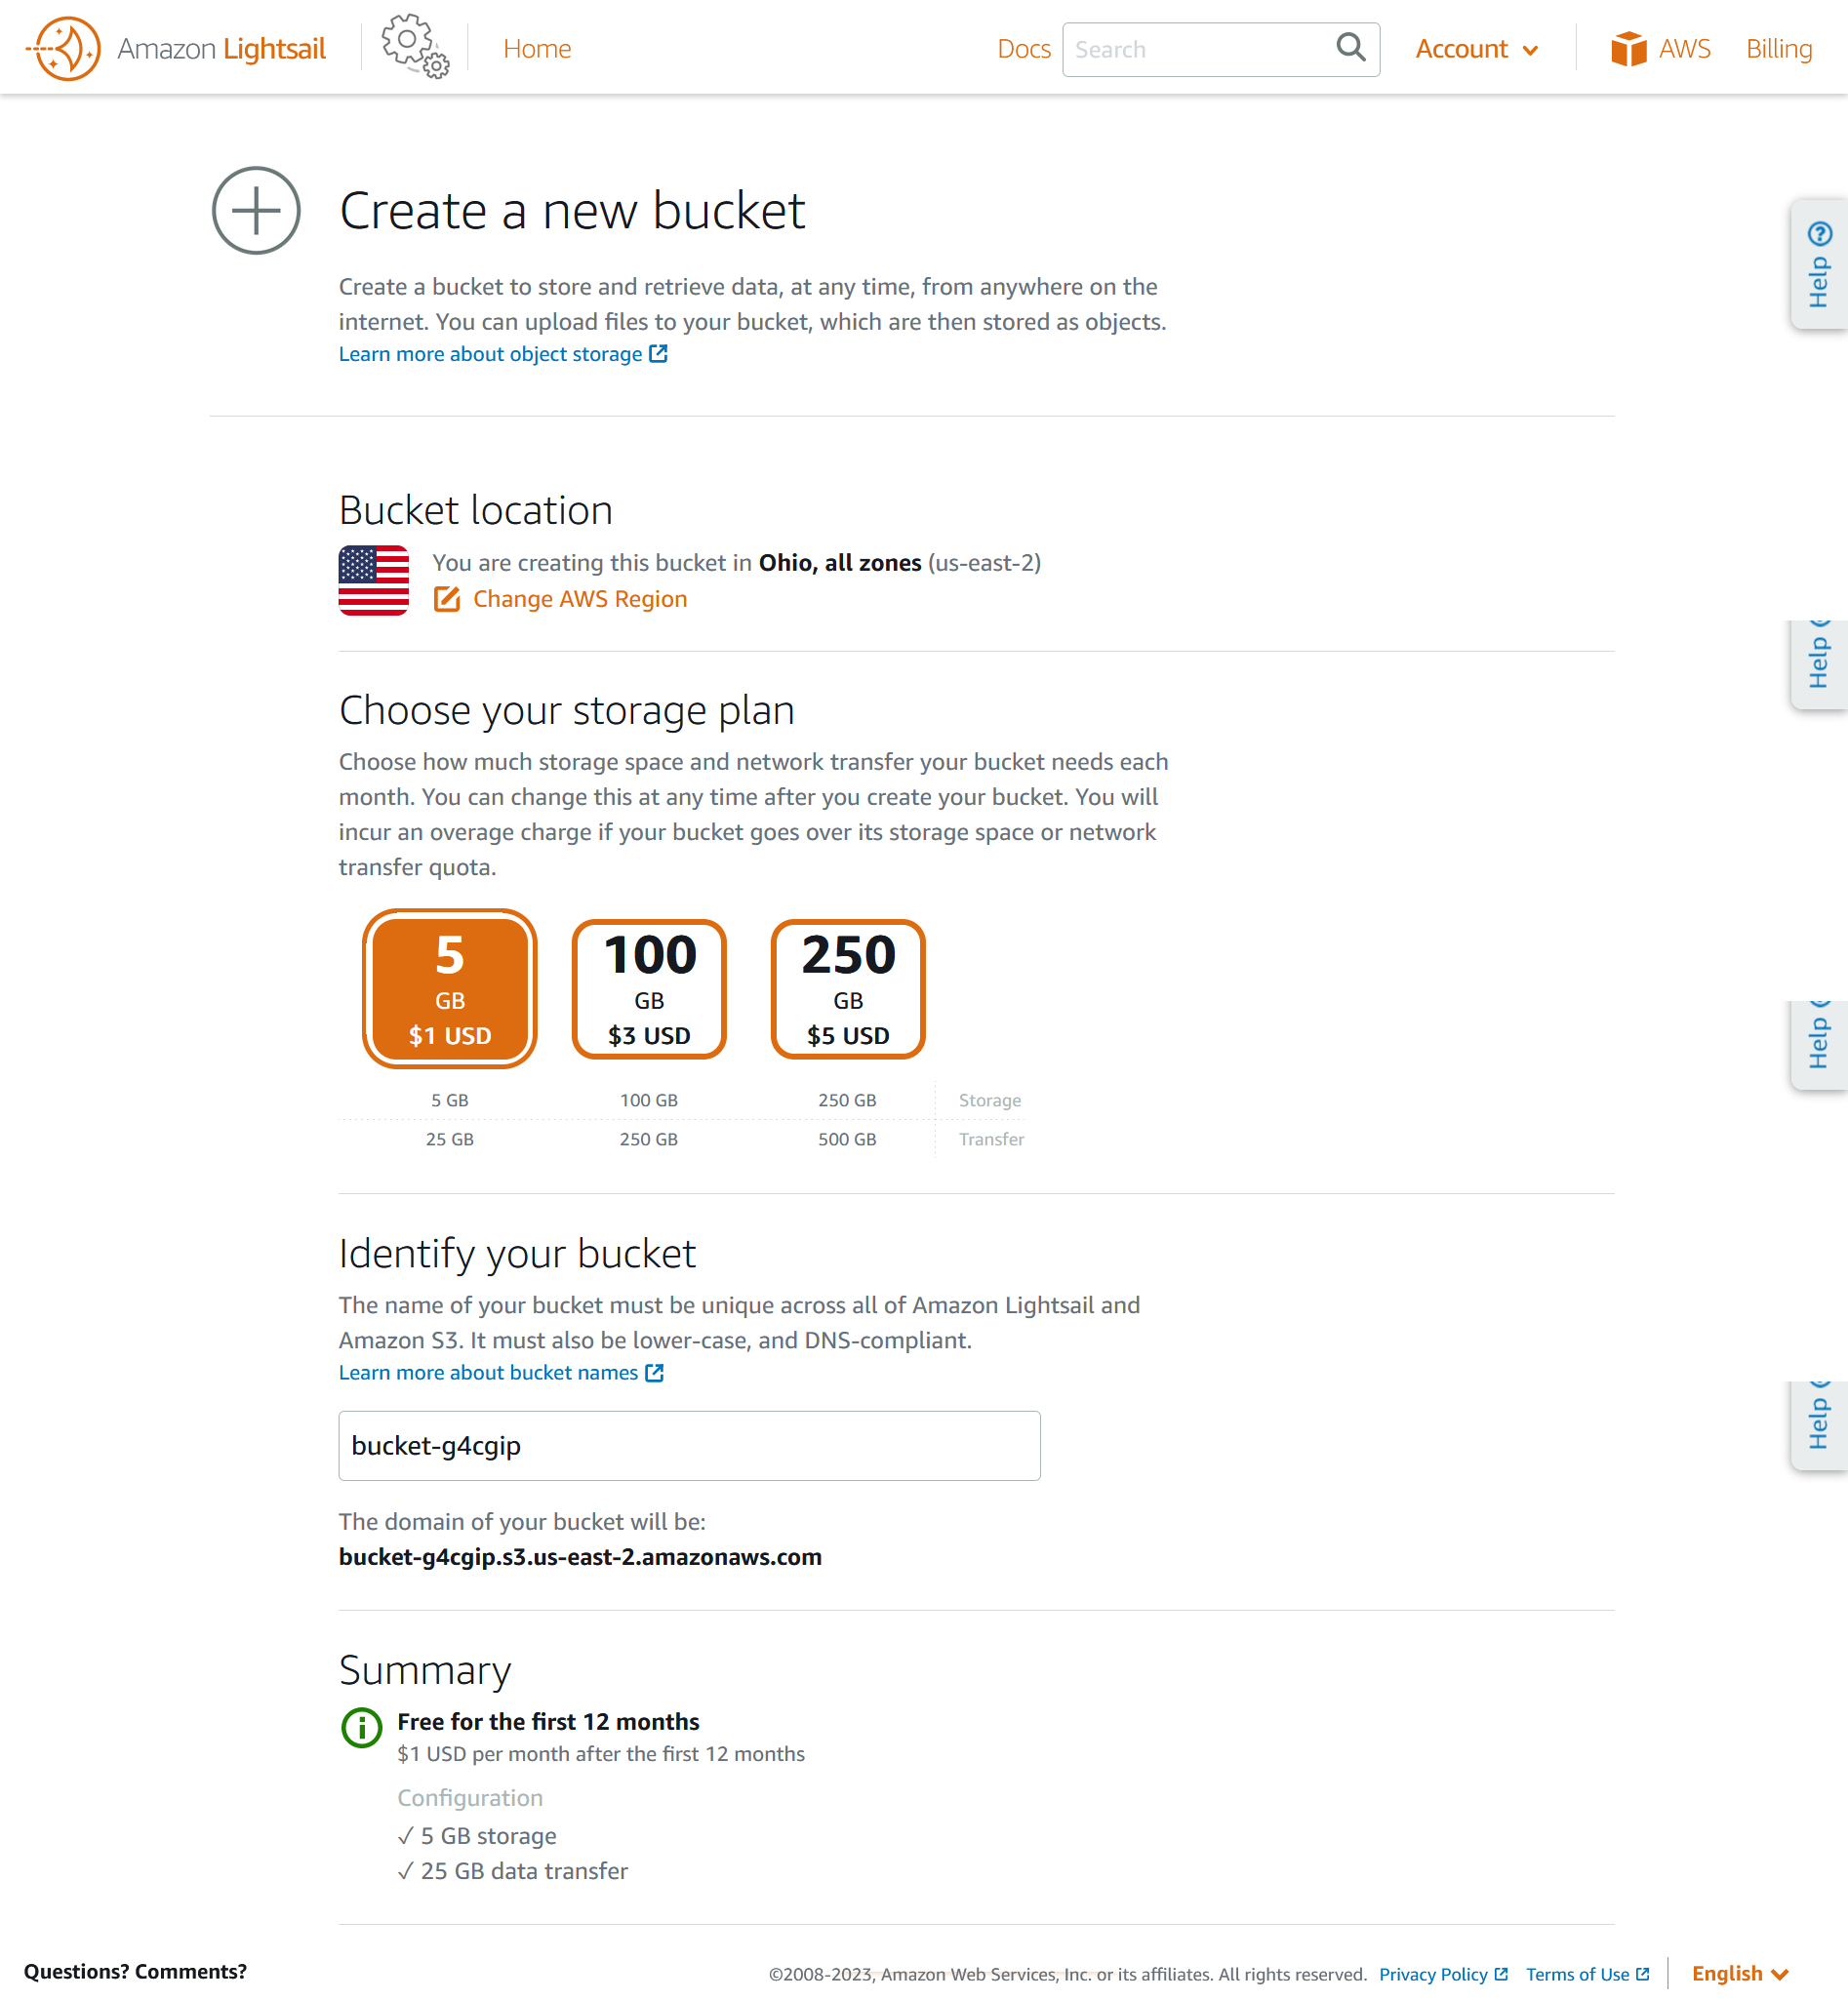
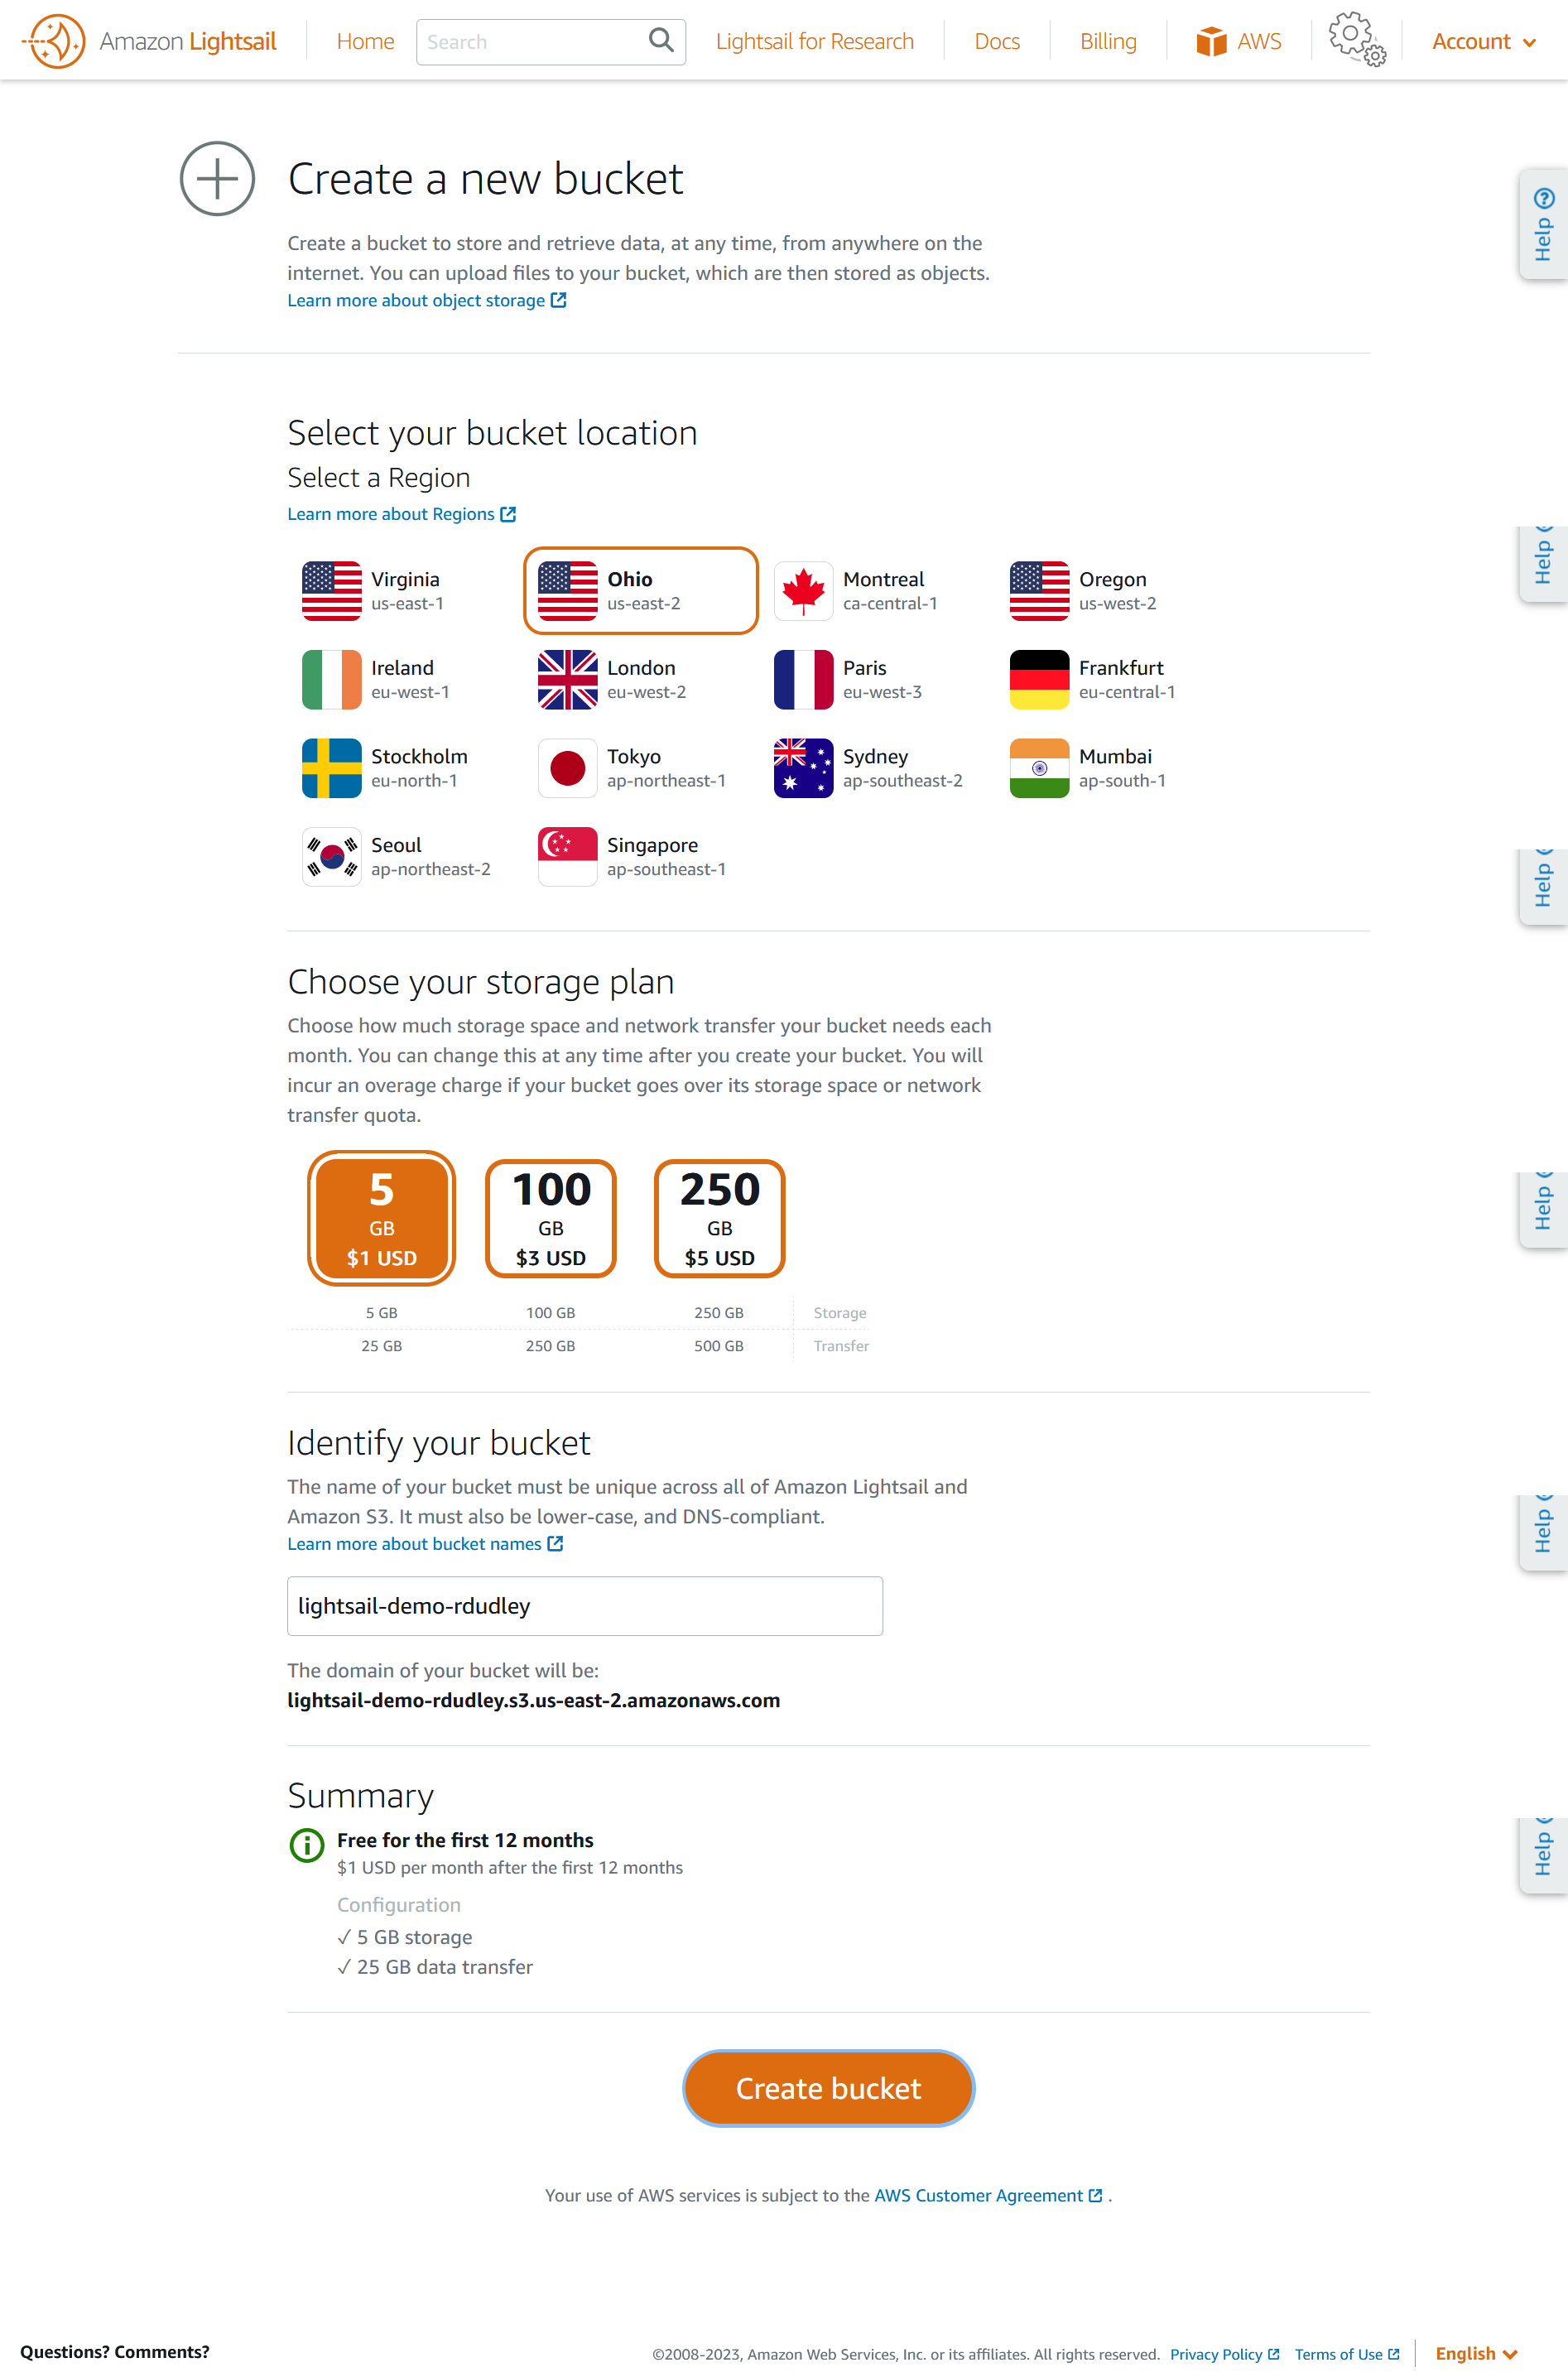
To create a new bucket, we first choose a region, storage plan, and name the bucket. Since Lightsail is not available in all regions, there is a shorter list of regions to choose from than regular S3. As with S3, bucket names must be globally unique.


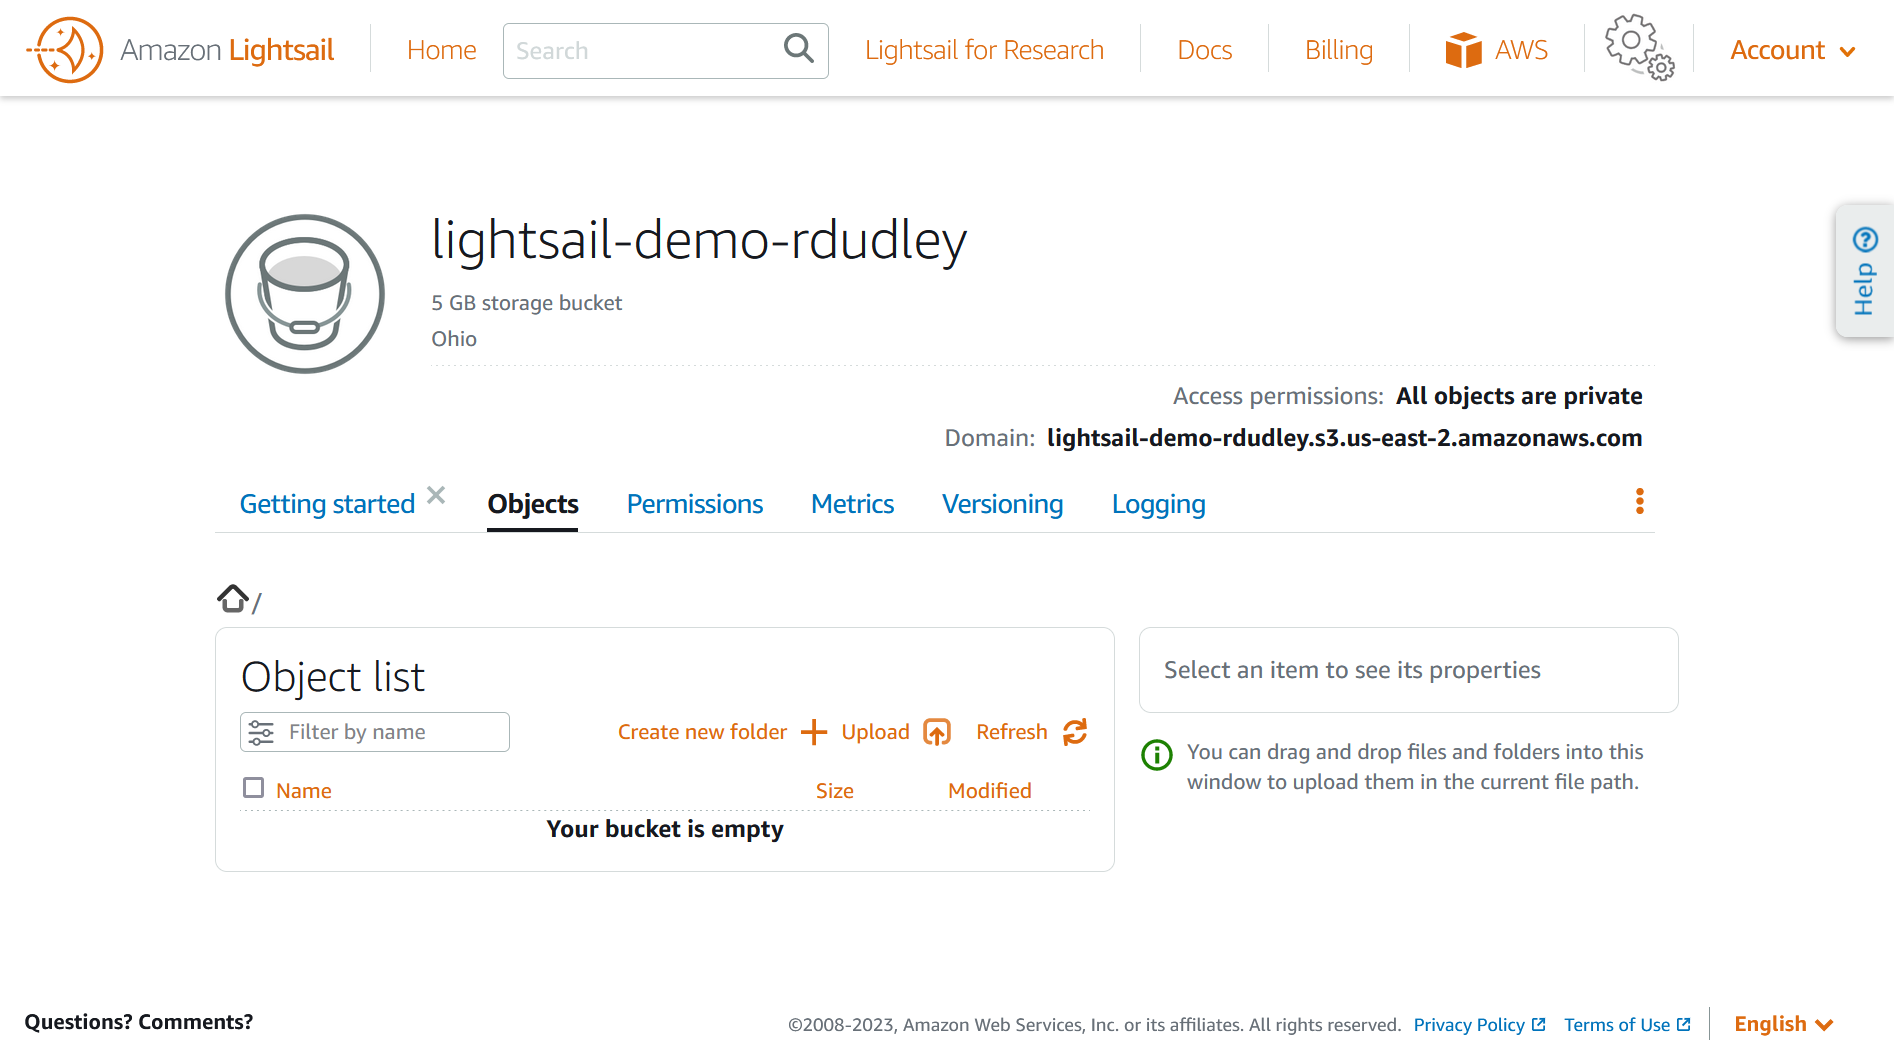
Once the bucket is created, we’re taken to a bucket management page with several tabs. The Getting Started tab welcomes us and guides us to some documentation for important settings.

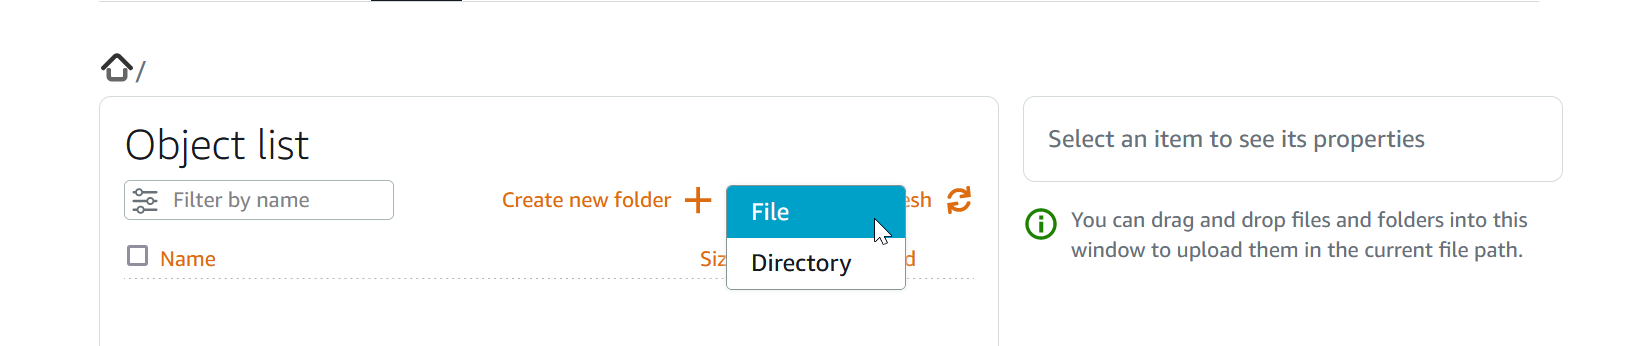
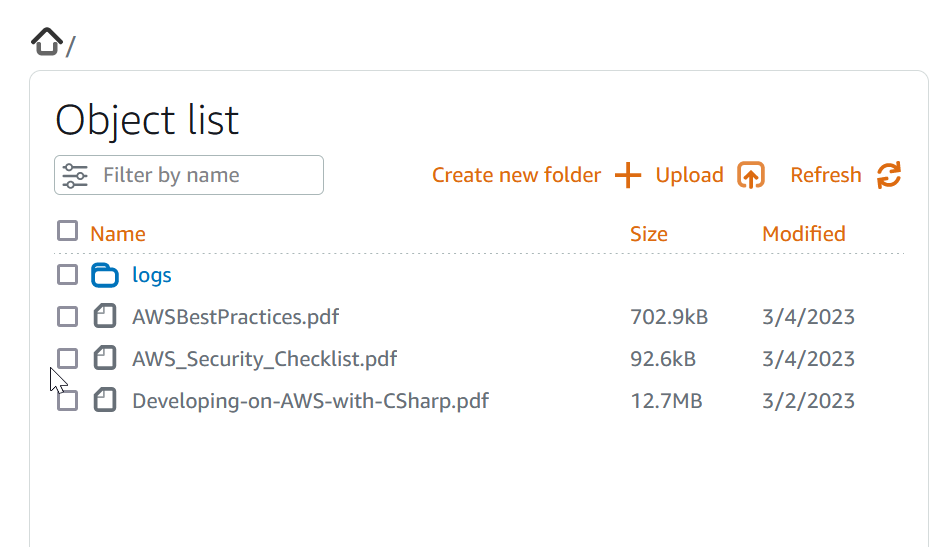
The Objects tab lists the folders and objects in our bucket, and the properties of any we selected. To add objects, we can upload an entire directory or a single file. We can also drag and drop instead using an upload dialog. Selecting an uploaded object shows the permissions, in addition to the size, type, tags and versions. Object tags can be set here also.

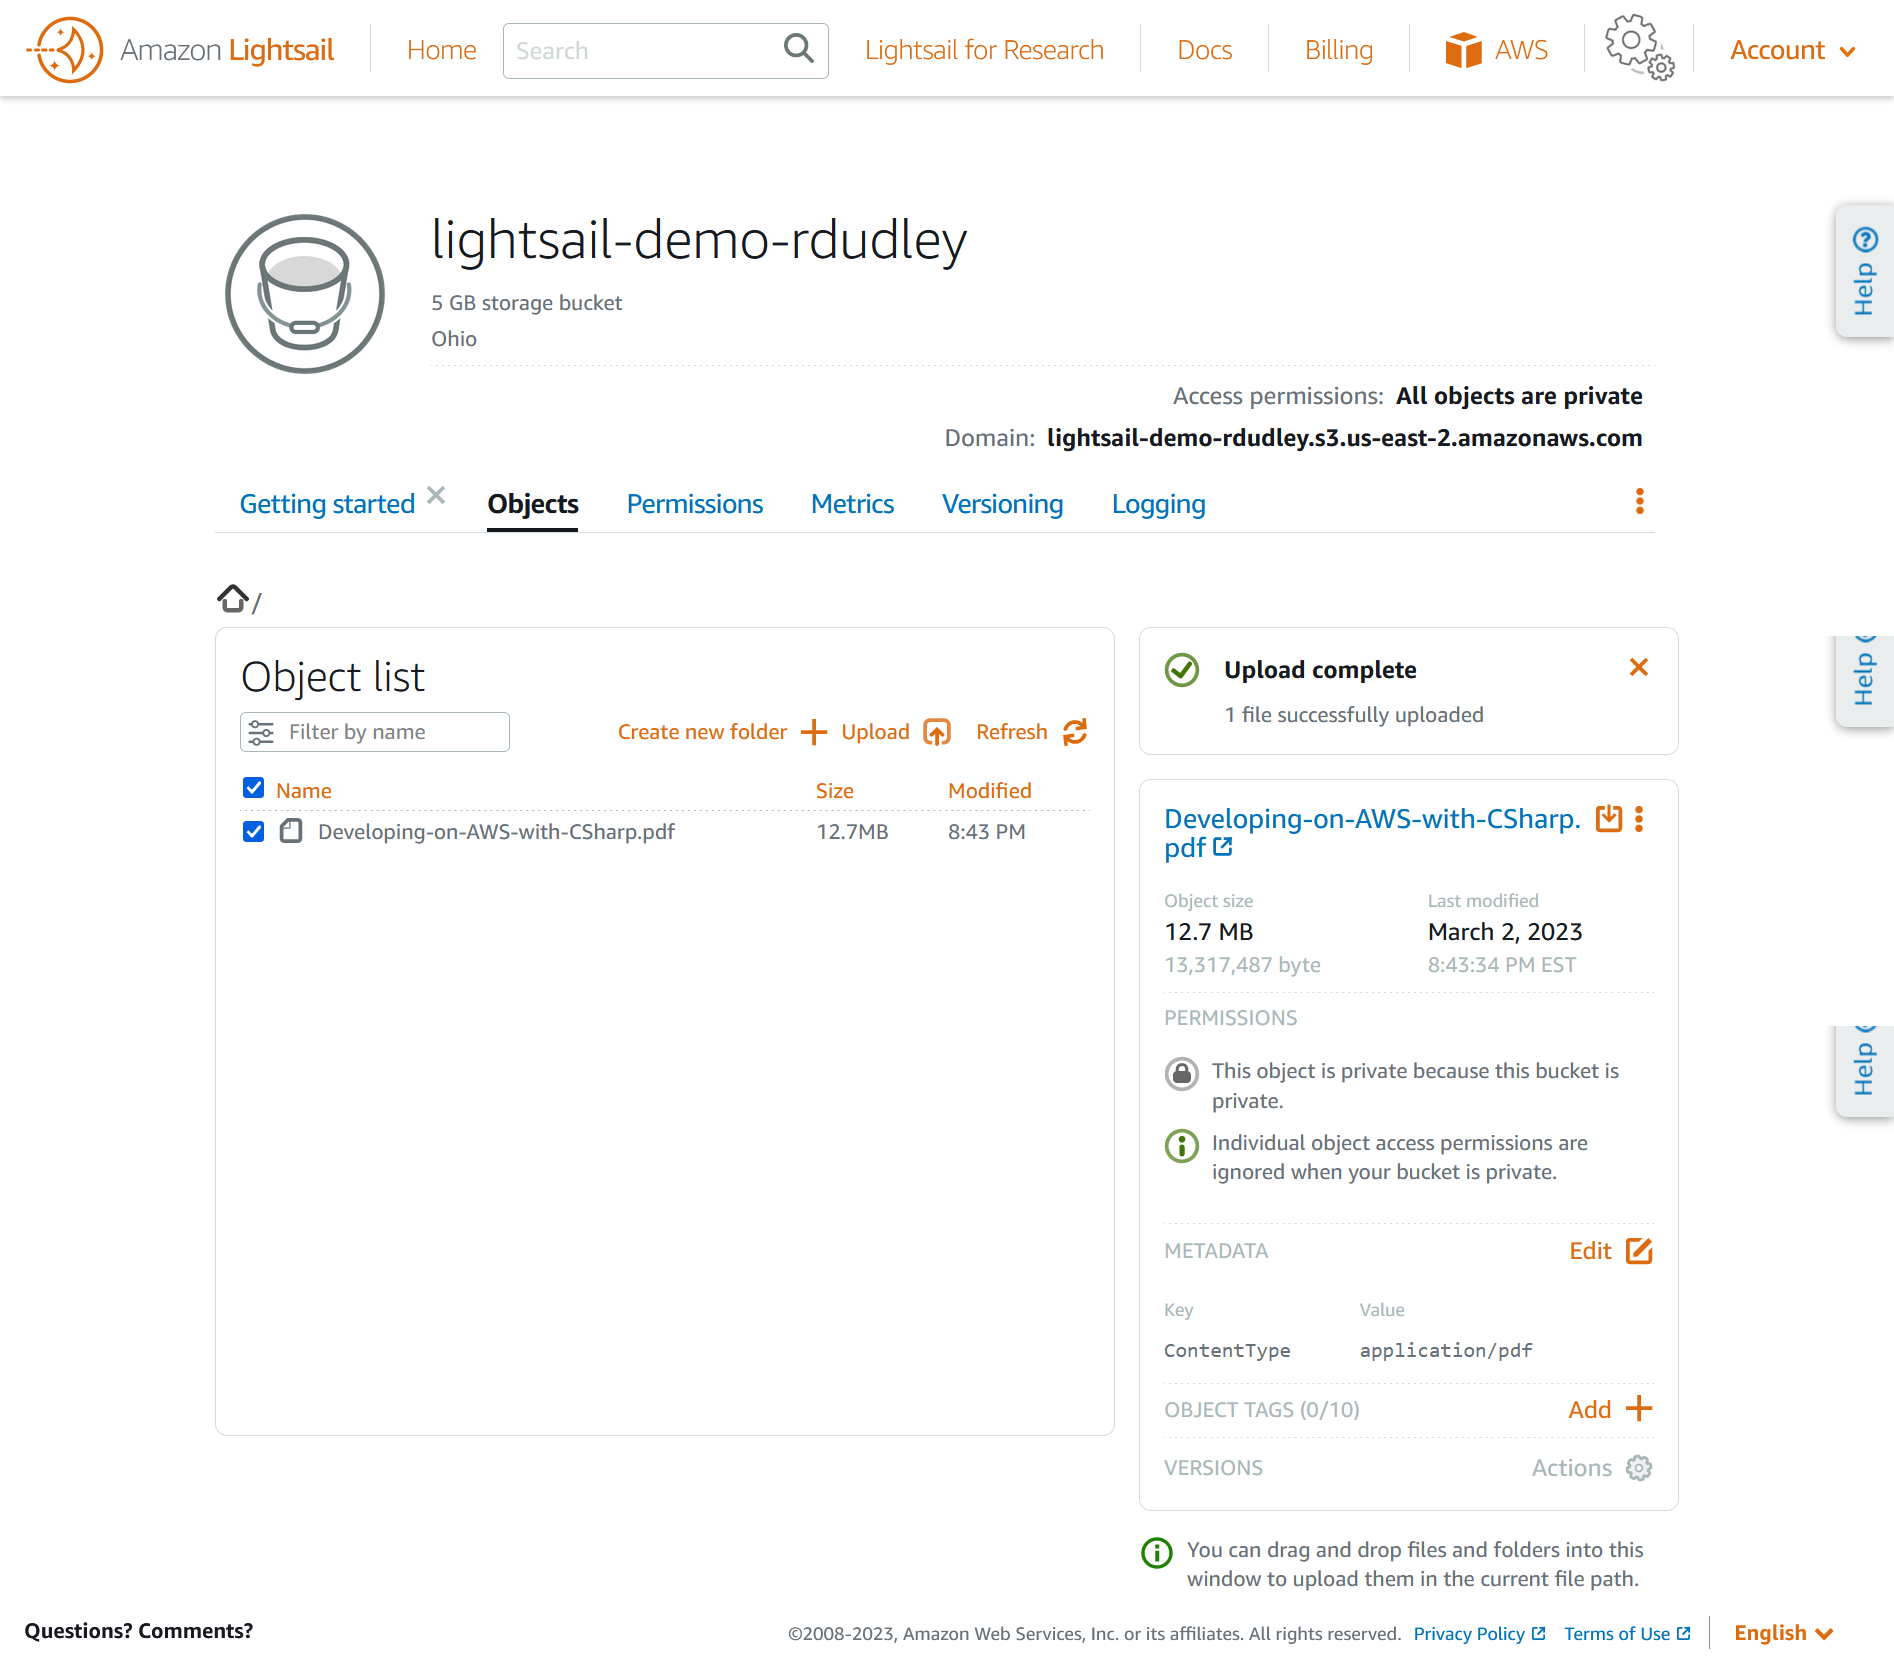
By default, Lightsail buckets are private, and objects inherit these permissions. Private buckets can still be accessed from instances we attach, as well as services and applications which can use access keys. Access keys are created on this tab, and cross-account access is also configured here.

The Metrics tab displays the storage consumption, a graph of storage growth, and set alarms in case we get too close to our limits. Since Lightsail buckets do not appear in S3, their metrics do not appear in CloudWatch metrics.

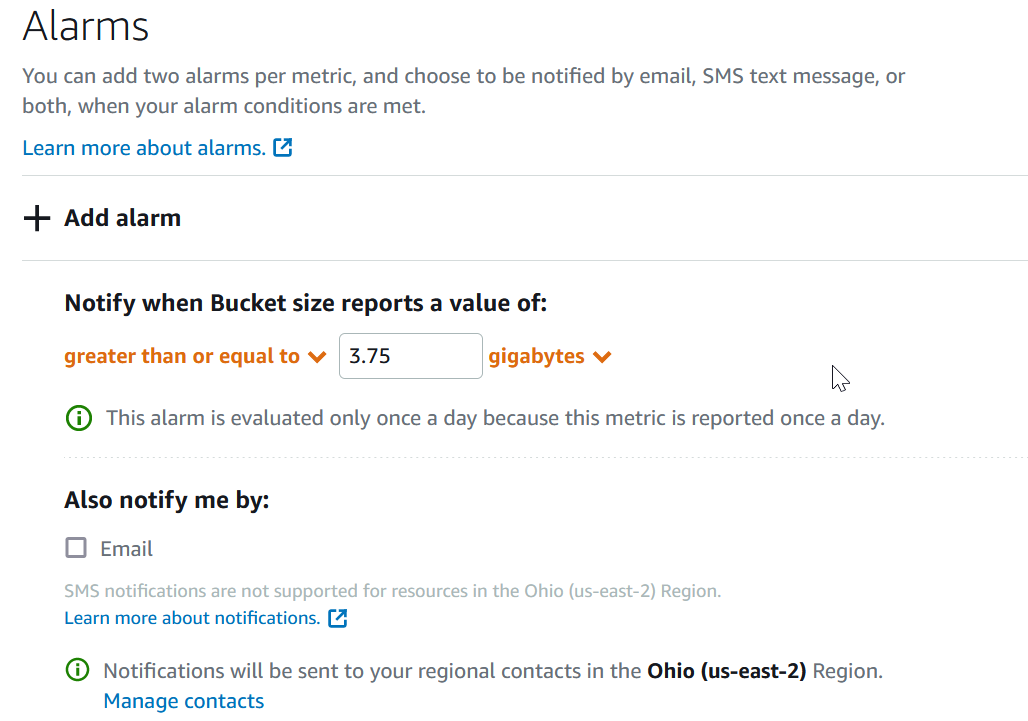
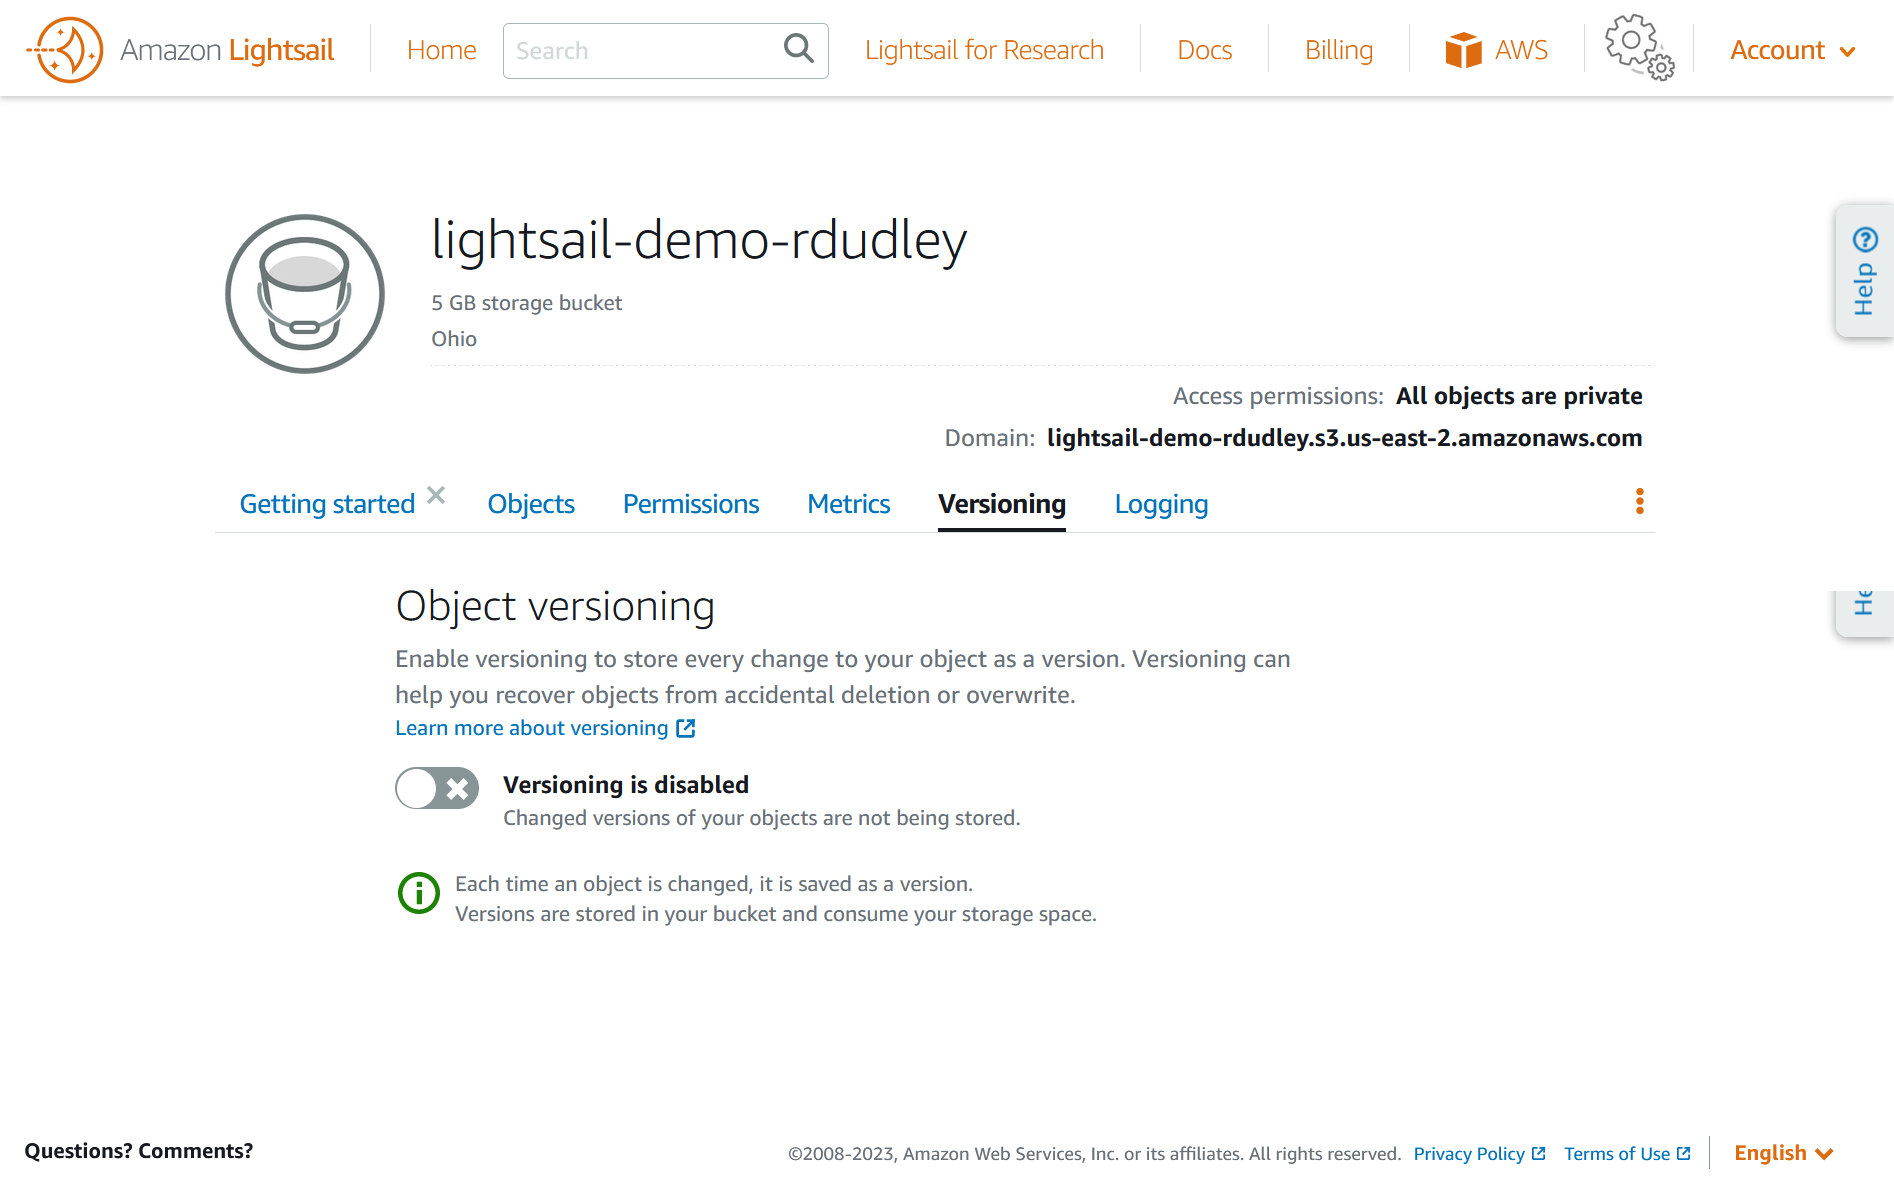
The Versioning tab is where we turn on versioning for objects stored in the bucket. Every version counts against the storage limit, so this is something to enable only if it’s needed, and if we have an alarm set.

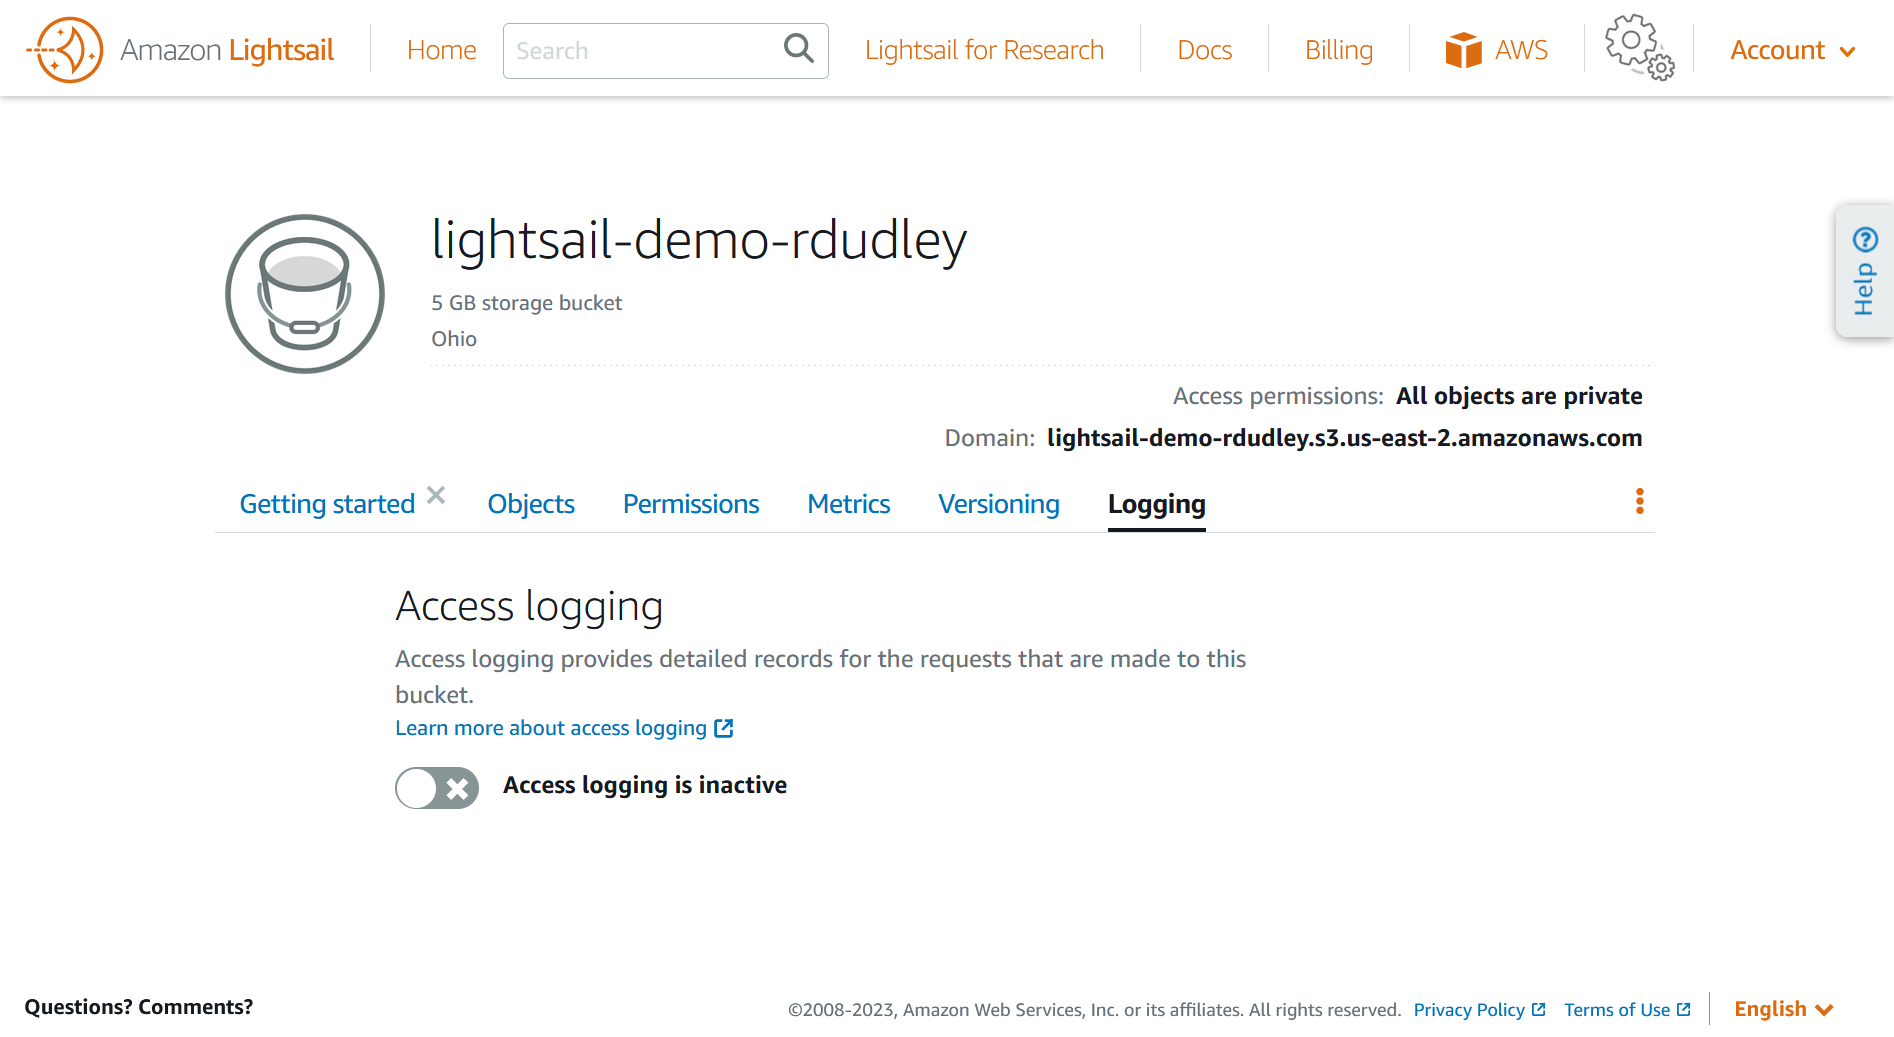
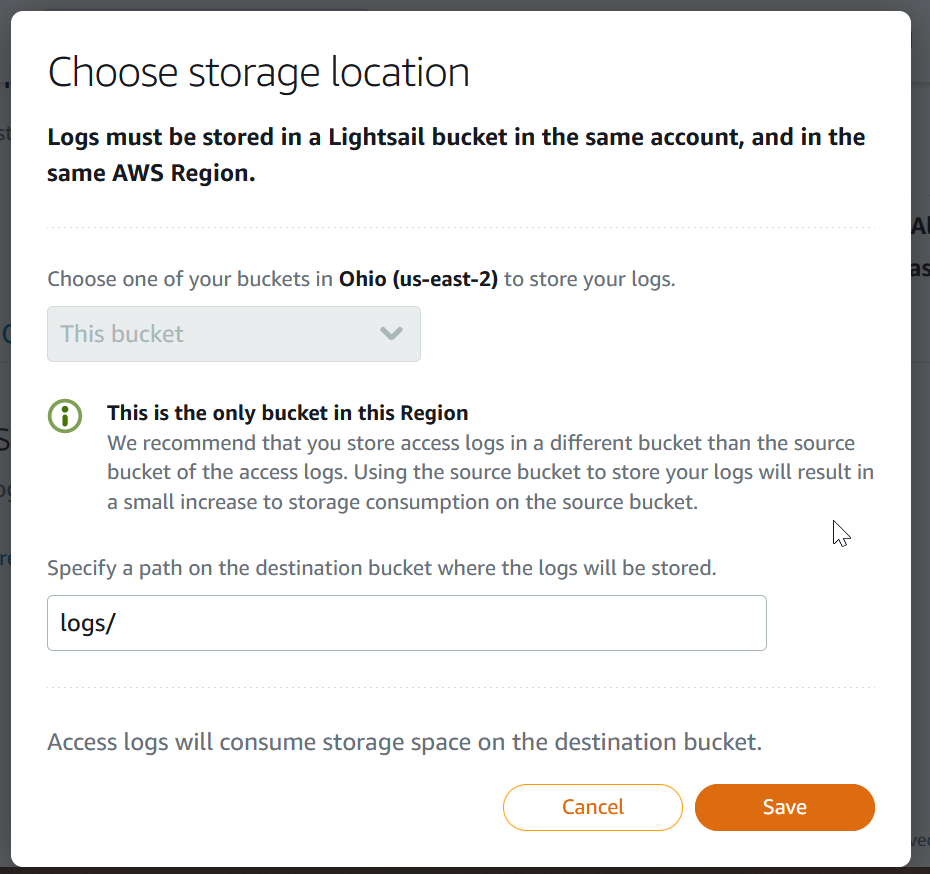
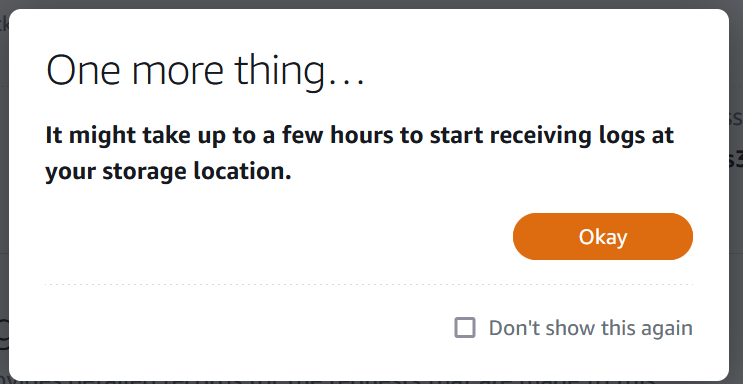
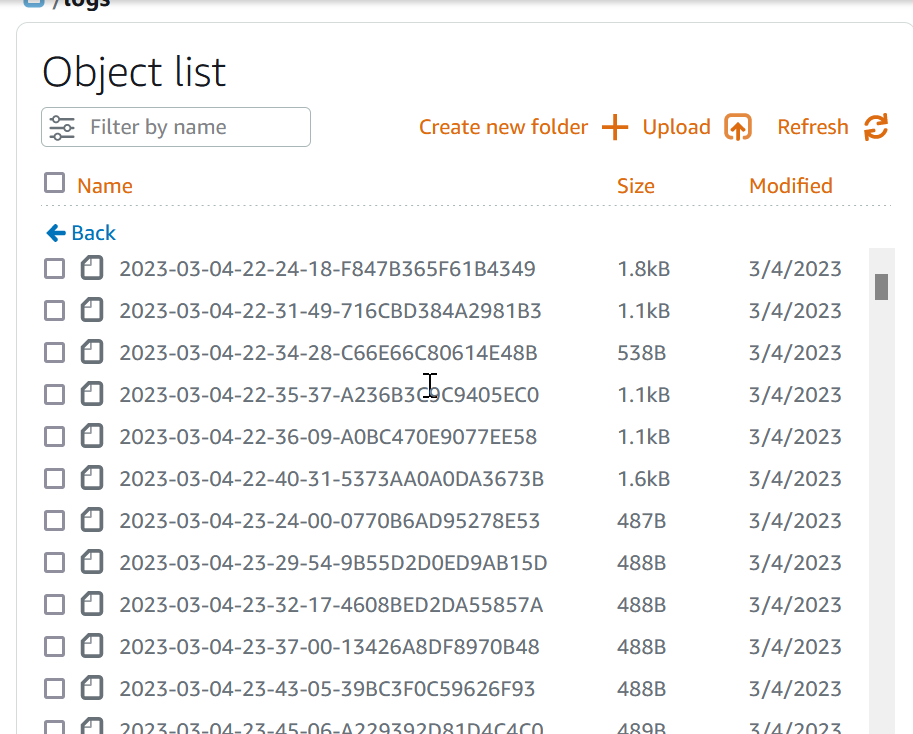
We configure CloudWatch-like logs using the Logging tab. Since Lightsail buckets are not part of regular S3, their logs do not appear in CloudWatch. Instead, logs must be stored in a Lightsail bucket in the same account (see https://lightsail.aws.amazon.com/ls/docs/en_us/articles/amazon-lightsail-bucket-access-logs). This can be the same bucket as our objects, or a different bucket. It may take a couple hours for logs to appear, but once logs appear, we can download logs for analysis. There may be as little as 1 entry per file and look like CloudWatch formatted. It’s not very convenient to read or analyze logs in this fashion but it doesn’t look like there is a better option at this time. If you want to monitor access patterns it looks like you’ll need to implement logging in your web application and keep the bucket completely locked down.

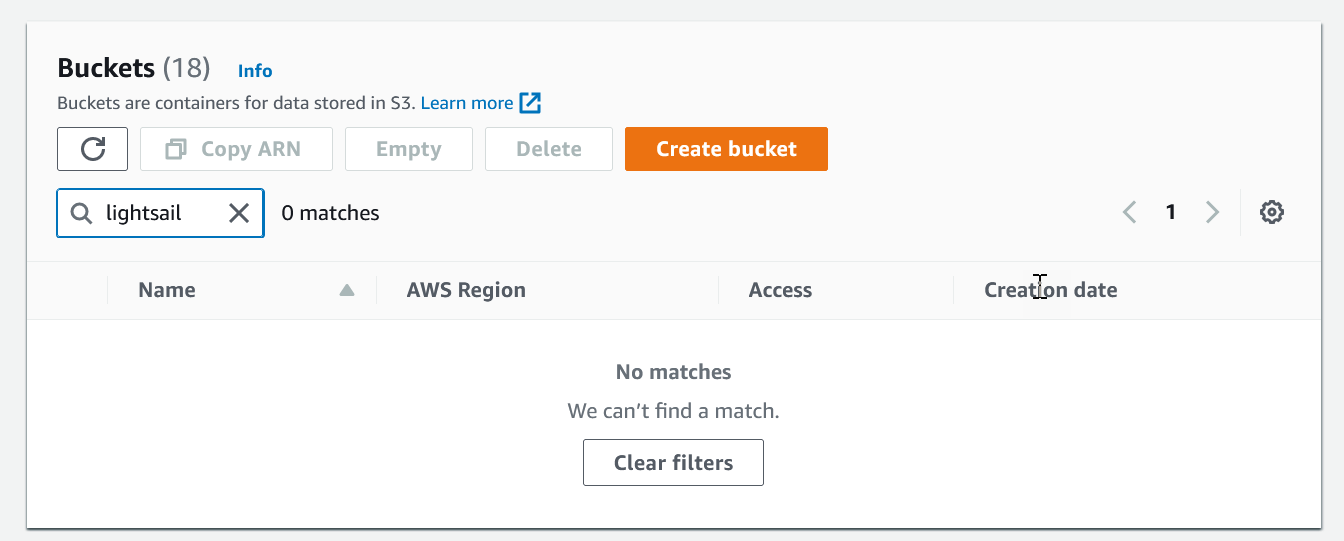
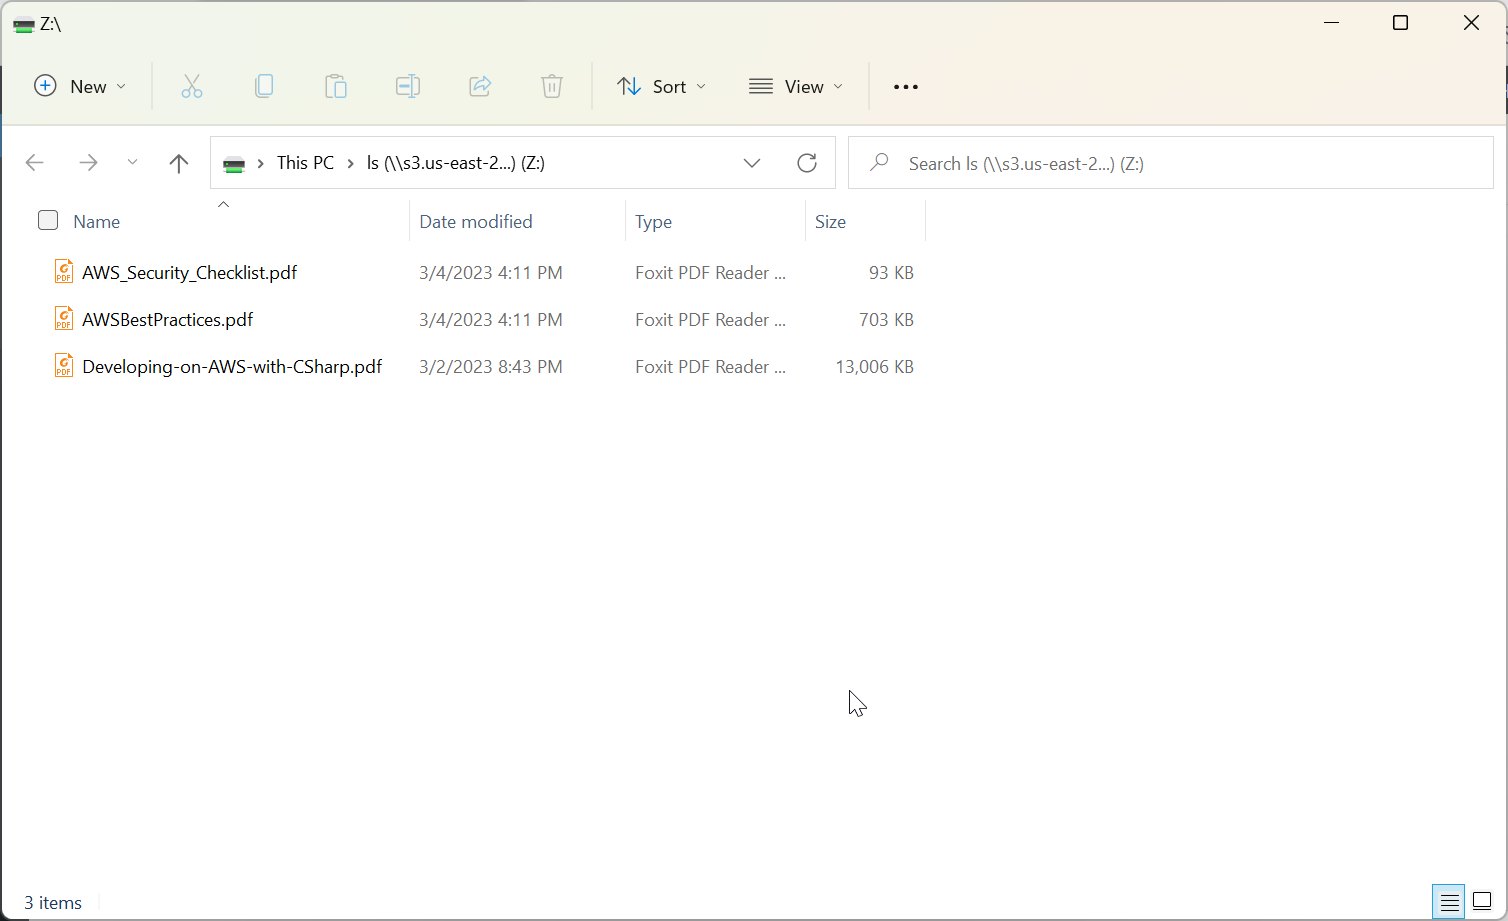
Since Lightsail Bucket Storage is based on S3, what do we see if we look at S3 console? As it turns out, Lightsail buckets are not available via the S3 console. This means we have to manage buckets via the Lightsail CLI, or an application like S3 Drive, for which we’ll need access keys created in the Permissions tab. Using S3 Drive we can interact with S3 just like any other removable storage, so we can transfer files and open them directly.

Lightsail Bucket Storage simplifies S3 and seems to have good security defaults, but the limited size and lack of CloudWatch make it suitable only for hosting web assets.

Series Contents

Side Project Chronicles, ep. 1: Hosting

Side Project Chronicles, ep. 2: Tour of the Lightsail Control Panel

Side Project Chronicles, ep. 3: Lightsail Bucket Storage (this post)

Side Project Chronicles, ep. 2: Tour of the Lightsail Control Panel

I apologize in advance, this is going to be a long post because of the screenshots. When I explore an AWS service, I like to look through the control panel to get an idea of what settings are important and available. This helps me learn the IaC options too. You don’t incur any charges just poking around the control panel, either, so it’s a good practice for any service.

The first thing you notice is how very different the Lightsail control panel is from the rest of AWS. It greets you like a wizard, and has a decidedly non-AWS UI. Lightsail services are their own distinct offering, but are built on top of other AWs services. This means that although the object storage is built on top of S3, the access to uour buckets should be through Lightsail endpoints and the billing is Lightsail pricing.

Clicking through the welcoming robot screen for the first time, you’re greeted with a page which has several tabs–Instances, Containers, Databases, Networking, Storage, Domains & DNS and Snapshots. I’ll talk about each of these tabs and the top-level options for these below. In later posts I’ll examine some of the more detailed settings as I set up each service.

Every tab has a link to an overview of that specific service, and it’s worth reading those.

Instances

Instances are the virtual private servers (VPSs) you’ve created. A VPS is a type of virtual machine, with the full instance of the OS installed, running in a multi-tenant environment. If you’ve created any VPSs, they will be listed on the main page.

To create an instance, you can choose the OS (Linux or Windows). With Linux you can stick with the base OS, or choose one of the prepackaged applications such as WordPress, GitLab, Joomla and more. As you select the OS or prepackaged application, the prices are displayed at the bottom of the page.

Windows Instances have the OS or SQL Server Express (2016 or 2019) as the options. Note that SQL Server is a Lightsail Instance and not a Lightsail Database. Lightsail Instances manages EC2 and AMIs behind the scenes. Click on the images below for a larger view.

You can choose different instance sizes, and set a few options for both the instance and the prepackaged application. I’ll dig into one or two of these in future posts.

Containers

Lightsail Containers are built on ECS, and can use Docker containers from any public registry or pushed from your local machine. Access to these containers should be though either the Lightsail endpoints or a custom domain you configure in Lightsail.

Databases

Lightsail databases can be either MySQL or PostgreSQL (Lightsail does have an option for SQL Server Express hosted on Windows, but that is set up as a Windows Lightsail Instance, not as a Lightsail Database, see the Instances above). There is a lot of documentation about database parameters, importing data, snapshots and so on. You can use your favorite database tool for managing your databases, but you have to put them into Public mode, it does not appear that SSH tunneling is an option at this time. You could probably set up another Instance with phMyAdmin (or similar) and there is a cpanel option in Instances, but cpanel requires a paid license.

Networking

Networking is where you can configure a static IP, load balancers and a CDN. You can have up to five static IPs attached to instances at no cost. The load balancer supports both HTTP and HTTPS, but HTTPS requires you to obtain an SSL/TLS certificate via Lightsail (see https://lightsail.aws.amazon.com/ls/docs/en_us/articles/understanding-tls-ssl-certificates-in-lightsail-https).

Storage

Lightsail Storage is either Bucket (built on S3) or Disk (built on EBS). I will look deeper into Bucket in the next post. There does not appear to be an option to attach existing S3 buckets or ESB disks to a Lightsail application. In Bucket storage, 250GB is the max storage you configure, although for an “overage fee” it looks like you can exceed this. That’s not a lot for space for what S3 gets used for in general, but for what we’re doing in Lightsail that should be pretty good, and you can have more than one bucket. You can configure up to 16TB of Disk with the Custom option, but at $1 for 10GB that will run about $1600/month.

Domains & DNS

Domains & DNS is where you can register a domain name and manage its nameservers, If you already have a domain name you can use it and just configure the DNS Zone. For domains registered elsewhere, you can use external nameservers, but its recommended to use Lightsail’s DNS.

If you register a domain name via Lightsail, the DNS zone is automatically configured. The TLDs available to register are listed at https://docs.aws.amazon.com/Route53/latest/DeveloperGuide/registrar-tld-list.html#registrar-tld-list-index-generic, and the price varies based on he TLD.

Lightsail DNS is built on top of Route 53, but supports only A, AAAA, CNAME, MX, NS, SRV and TXT and record types, These are the most common record types for web applications. If you need other record types, you can use Route 53 instead. You can have up to 6 DNS Zones (one per domain name) at no cost.

Snapshots

Snapshots are backups of Instances, and are configured on the Instances tab.

Summary

That’s the tour of the Lightsail control panel and some of the configuration pages. I’ll look deeper into some of these in future posts.

Series Contents

Side Project Chronicles, ep. 1: Hosting

Side Project Chronicles, ep. 2: Tour of the Lightsail Control Panel (this post)

Side Project Chronicles, ep. 3: Lightsail Bucket Storage